Tuesday 12 April 2011
Saturday 26 March 2011
Friday 25 March 2011
Tuesday 22 March 2011
Poster Design
As Luke has kindly made 4 layouts for our poster, I used those initial layouts as guidelines to design the actual finished product/poster. The software I used was photoshop as I believe it is one of the best softwares to design something like posters, that have many different layers and adjustments. It is also relatively easy to use! Here is a Prezi I made, showing the making processes of two designs. I'm still, at the minute, very indecisive as to which design to use.
Tuesday 15 March 2011
Todays Progress
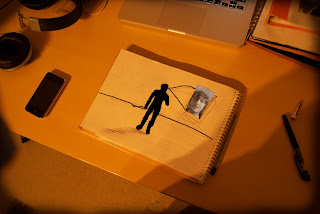
Today I thought of another way to capture the face singing. I thought of vertically recording my face, whilst miming, to later split the footage up into 10fps, then print the individual photos on A4 paper. By printing each photo 'one to a page', it will give me a much larger photograph instead of printing 9 to a page. I thought by doing this I could record someone holding the photos in front of their head, so it looks as if they are singing, giving a quirky look to the scene. This clip is very similar to what I want to achieve, except I'm going for a different approach.
Here is a quick sketch that gives you a brief idea of what I'm going to record, and how! I will have a person standing in a certain location, then will get him/her to use both hands to hold the A4 paper in front of their head. This will be a slightly tricky process as the person will not be in the same place in every frame, but I'll get the person to decrease their movement. Also I have to swap each photo after each frame, which will be challenging, but achievable!
Here is a quick sketch that gives you a brief idea of what I'm going to record, and how! I will have a person standing in a certain location, then will get him/her to use both hands to hold the A4 paper in front of their head. This will be a slightly tricky process as the person will not be in the same place in every frame, but I'll get the person to decrease their movement. Also I have to swap each photo after each frame, which will be challenging, but achievable!

Monday 14 March 2011
Digipak Design
I researched all of the possible digipak nets there were, and chose the 10 panel net. This is because they seem more entertaining when unwrapping. You can also fit in much more information than say a 4 panel net! All of the information I used e.g. dimensions are on this website: http://www.duplication.ca/printspecs/2000.htm
The size varies by the amount of panels you choose to have in your digipak. The more panels the bigger the size. Here are the sizes for the standard digipaks:
6 Panel standard - 139.5 mm x 125.5 mm x 7.5 mm
4 Panel standard - 139.5 mm x 125.5 mm x 6 mm
8 Panel standard - 139.5 mm x 125.5 mm x 9 mm
10 Panel standard - 139.5mm x 125.5mm x 9mm
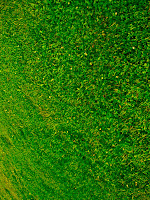
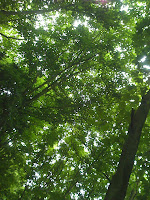
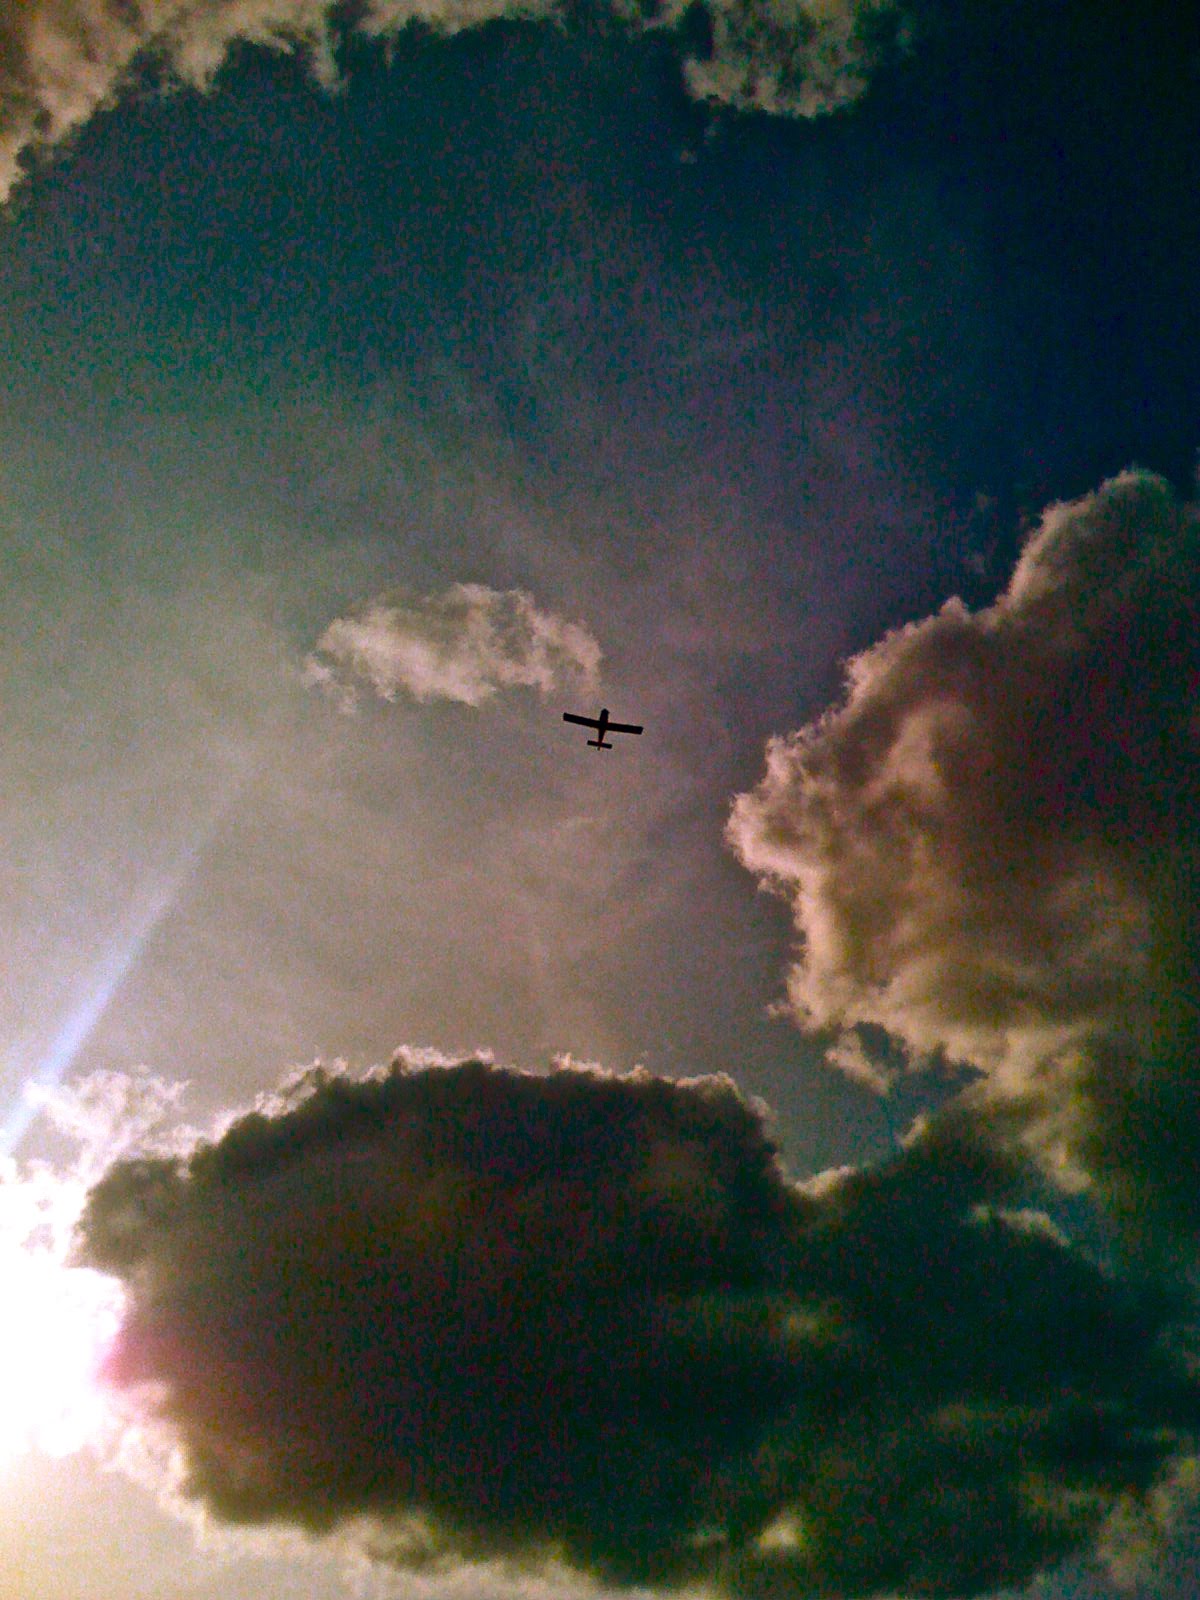
After looking at the artworks below I fished out some of my photos and cut them into squares, laid them out and decided which ones looked the best together. Here are five photos below, in their original state (before edited). You will see these five photos when you open the digipak.
The editing process
The size varies by the amount of panels you choose to have in your digipak. The more panels the bigger the size. Here are the sizes for the standard digipaks:
6 Panel standard - 139.5 mm x 125.5 mm x 7.5 mm
4 Panel standard - 139.5 mm x 125.5 mm x 6 mm
8 Panel standard - 139.5 mm x 125.5 mm x 9 mm
10 Panel standard - 139.5mm x 125.5mm x 9mm
After looking at the artworks below I fished out some of my photos and cut them into squares, laid them out and decided which ones looked the best together. Here are five photos below, in their original state (before edited). You will see these five photos when you open the digipak.
The editing process


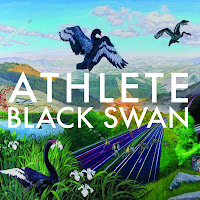
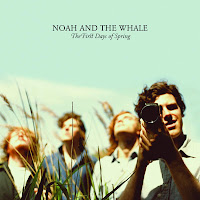
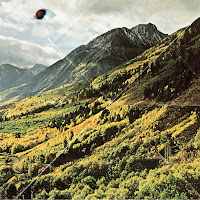
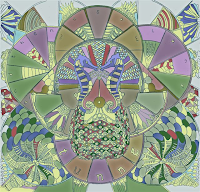
Digipak Design Research
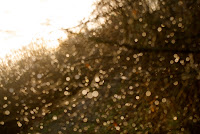
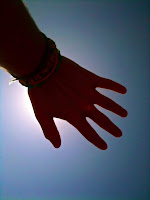
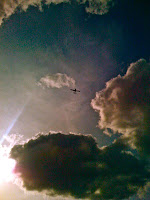
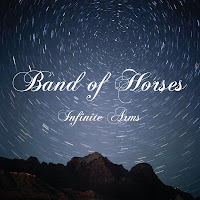
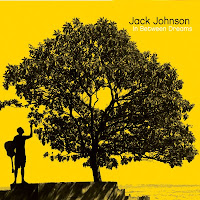
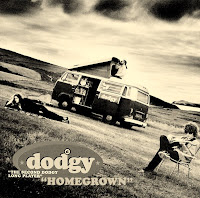
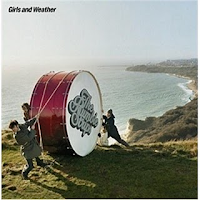
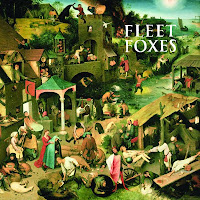
After looking at a variety of artists, and their albums cover designs, I thought I would go for my own style. I did get some ideas off some artists, but I decided to create my own design. After gathering different designs from existing album artworks, I looked at the similarities between them. After doing this, I realised that they all related to nature/outdoor activities of some sort. Much like the album artworks below.


Subscribe to:
Posts (Atom)