Tuesday, 12 April 2011
Saturday, 26 March 2011
Friday, 25 March 2011
Tuesday, 22 March 2011
Poster Design
As Luke has kindly made 4 layouts for our poster, I used those initial layouts as guidelines to design the actual finished product/poster. The software I used was photoshop as I believe it is one of the best softwares to design something like posters, that have many different layers and adjustments. It is also relatively easy to use! Here is a Prezi I made, showing the making processes of two designs. I'm still, at the minute, very indecisive as to which design to use.
Tuesday, 15 March 2011
Todays Progress
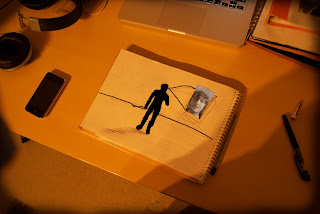
Today I thought of another way to capture the face singing. I thought of vertically recording my face, whilst miming, to later split the footage up into 10fps, then print the individual photos on A4 paper. By printing each photo 'one to a page', it will give me a much larger photograph instead of printing 9 to a page. I thought by doing this I could record someone holding the photos in front of their head, so it looks as if they are singing, giving a quirky look to the scene. This clip is very similar to what I want to achieve, except I'm going for a different approach.
Here is a quick sketch that gives you a brief idea of what I'm going to record, and how! I will have a person standing in a certain location, then will get him/her to use both hands to hold the A4 paper in front of their head. This will be a slightly tricky process as the person will not be in the same place in every frame, but I'll get the person to decrease their movement. Also I have to swap each photo after each frame, which will be challenging, but achievable!
Here is a quick sketch that gives you a brief idea of what I'm going to record, and how! I will have a person standing in a certain location, then will get him/her to use both hands to hold the A4 paper in front of their head. This will be a slightly tricky process as the person will not be in the same place in every frame, but I'll get the person to decrease their movement. Also I have to swap each photo after each frame, which will be challenging, but achievable!

Monday, 14 March 2011
Digipak Design
I researched all of the possible digipak nets there were, and chose the 10 panel net. This is because they seem more entertaining when unwrapping. You can also fit in much more information than say a 4 panel net! All of the information I used e.g. dimensions are on this website: http://www.duplication.ca/printspecs/2000.htm
The size varies by the amount of panels you choose to have in your digipak. The more panels the bigger the size. Here are the sizes for the standard digipaks:
6 Panel standard - 139.5 mm x 125.5 mm x 7.5 mm
4 Panel standard - 139.5 mm x 125.5 mm x 6 mm
8 Panel standard - 139.5 mm x 125.5 mm x 9 mm
10 Panel standard - 139.5mm x 125.5mm x 9mm
After looking at the artworks below I fished out some of my photos and cut them into squares, laid them out and decided which ones looked the best together. Here are five photos below, in their original state (before edited). You will see these five photos when you open the digipak.
The editing process


Digipak Design Research
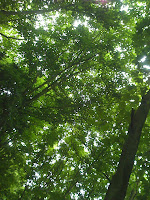
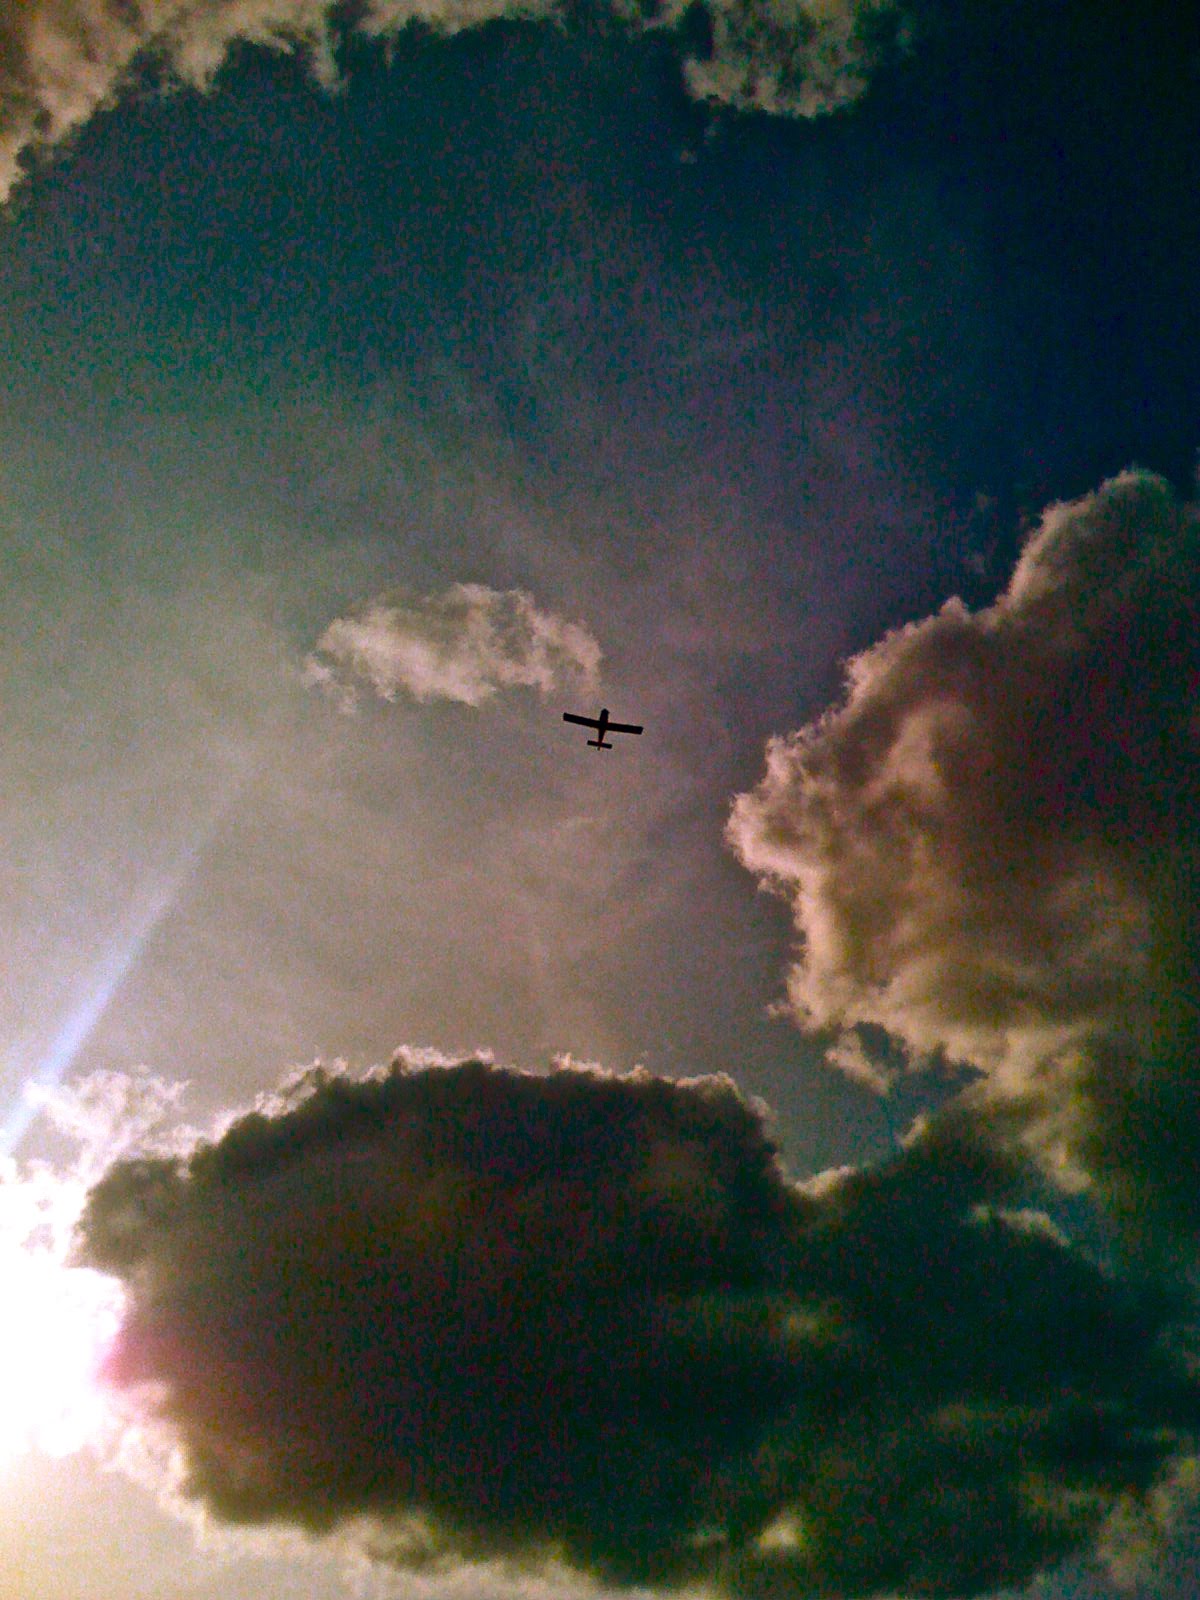
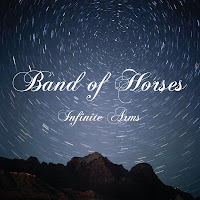
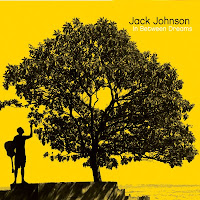
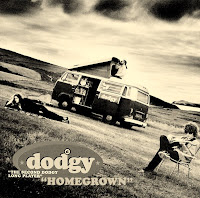
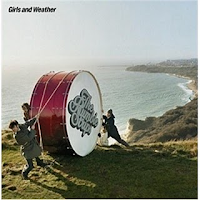
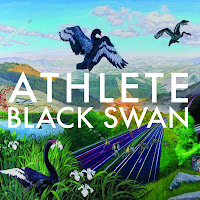
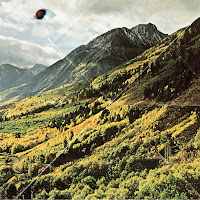
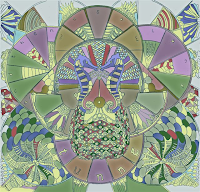
After looking at a variety of artists, and their albums cover designs, I thought I would go for my own style. I did get some ideas off some artists, but I decided to create my own design. After gathering different designs from existing album artworks, I looked at the similarities between them. After doing this, I realised that they all related to nature/outdoor activities of some sort. Much like the album artworks below.


Tuesday, 18 January 2011
Digipak Research
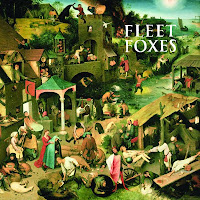
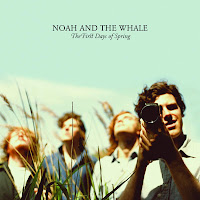
Bands are recognized usually by their album covers, which relate to the bands appearance/scene. Some albums have artwork that is extremely simple, yet relates to the band in some way. Others can be completely spontaneous and do not relate to the band at all. But the fans of these bands will relate to that specific image as the image represents their favorite band! Some of my favorite bands have completely random images for their artwork. Bands such as Animal Collective, Band of Horses, Good Shoes, Grizzly Bear, The Maccabees, Marmaduke Duke, MGMT, Mystery Jets, Noah And The Whale, The Rumble Strips etc. I've noticed that the artwork usually relates to nature in some way as the majority of the images are either taken outdoors, or include natural 'things' for example trees! Also the artwork/photography has a kind of antique feel to it, with a slightly 'sepia' effect, again adding to the aged appearance. For the antique look I may take photos of an old bookshelf including vibrant coloured books etc. With a strong contrast between the other photos included! Here is fleet foxes' digipak. I could only find the Front and Back cover, however the layout inside is pretty much the same, giving it an almost antique style!


Thursday, 13 January 2011
8 Second Clip
Here is the first attempt of animating the first few seconds of footage. Using iStopmotion, it was far more easier to place the photos in the same place after the last photo. This technique is made easier by using the 'onion skinning' tool, which allows you to see a vague picture of the last photo taken, as well as the photo you are about to take, therefore making the animation smoother! Once I finished animating I Lip-Syned the audio to the video, which took a while, but I got there eventually. From 8 seconds of footage, I used 99 cut-outs, which took about 20 minutes, alone, to animate. Although I will have about 4 or 5 people helping, 2 and a half minutes will still be a long progress, however, if I get the finished product to look pretty good, and my audience to like it, it will be worth it!
Tuesday, 11 January 2011
Cutting Footage into Frames
Today I eventually found out how to cut my video footage into 12 fps (frames per second). All I had to do was to Export the footage to 'Movie to Image Sequence' and selected the amount of frames in a second i wanted. I chose to have just 12 frames a second as 25 frames (another option) would take twice as long. So far, i have printed out each individual frame with 9 images per page. I have also numbered these to make such I do not muddle these up when I start recording. This stage is still experimental as I am still not 100% sure whether to narrow down the 12fps to 6fps. It will be a lot more 'blocky' but it will be a quicker/easier process!
Thursday, 6 January 2011
Overview So Far
Here are just a few stages, showing the main stage of the making of the music video. It is a brief view of how it will be done, but hopefully it will give an idea. Click on the photos to see a larger version!


Today's Progress
Today me and Luke recorded ourselves miming the first few lines of my version of the song 'White Winter Hymnal'. We simply played the song through my laptop, and sung/mimed the words. By doing this I can then split the recordings up by 24fps (frames per second) allowing me to individually print the frames, cutting out the heads, and animating, eventually! I've thoroughly looked on websites on how to cut a video up into frames, but haven't found a tutorial, or a possible answer. However I hope to get in touch with someone who knows how to do this, maybe ask a technician either at school or a shop. Anyway here are a few clips of what we have put together so far:
">
">
Sunday, 2 January 2011
Finished Song!
Here is the finished song for my music video. It is 02:35 minutes long so it will be a relatively quick video, however I still need to keep the audience entertained throughout!
I have no video to the music yet as i have only recorded myself miming the video. I still need to record Luke miming some parts, which won't take song. There is also an 8 second delay at the start, so don't worry if you can't hear anything :)
I have no video to the music yet as i have only recorded myself miming the video. I still need to record Luke miming some parts, which won't take song. There is also an 8 second delay at the start, so don't worry if you can't hear anything :)
Subscribe to:
Posts (Atom)